Gleanings From the Journal: Rescuing apparently ‘dead’ orchids Parts 2 & 3 of Three Parts

This week we continue with both Part Two and Part Three of Brendan Killen’s Rescuing Apparently ‘Dead’ Orchids  which appeared in the Volume 31 No 9 October 2007 and Volume 31 Bi 11 December 2007, respectively.

Rescuing apparently ‘dead’ orchids. Part 2 By Brendan Killen

PLANT #2 – Dendrobium Alick Dockrill “Pale Face”

untitled

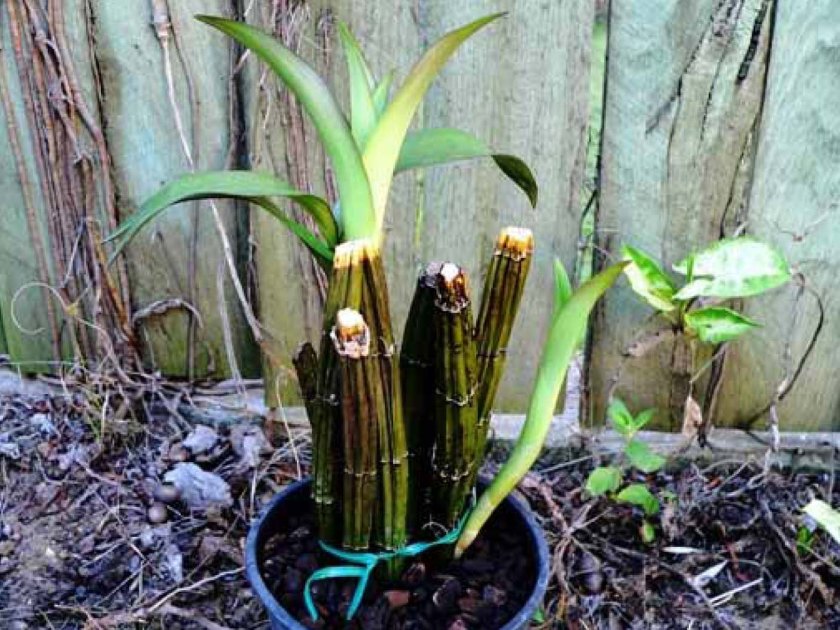
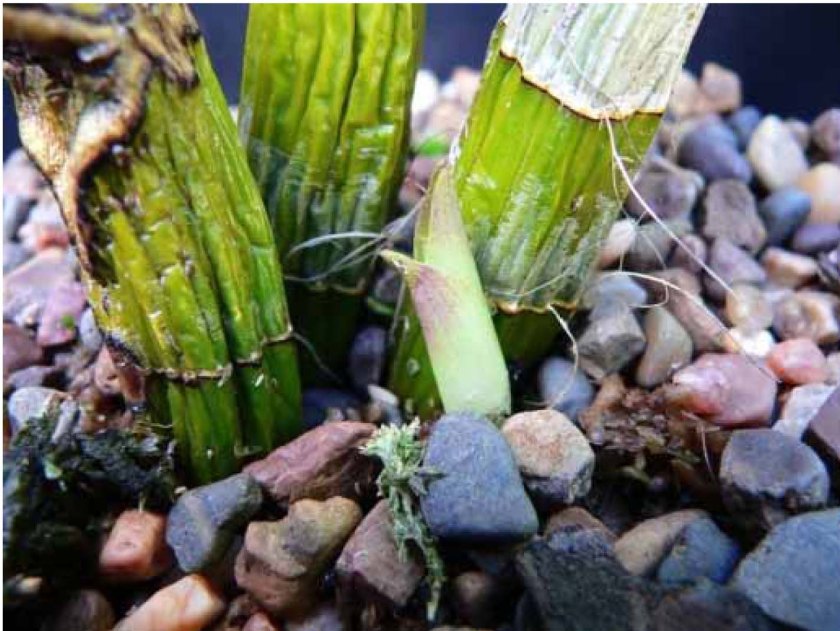
The cane pieces of this plant were inserted into a bark mix at the same time as the canes of Den. Jayden ‘JANE’ [See the July Journal] were inserted into sphagnum moss. The outcome is three healthy growths.

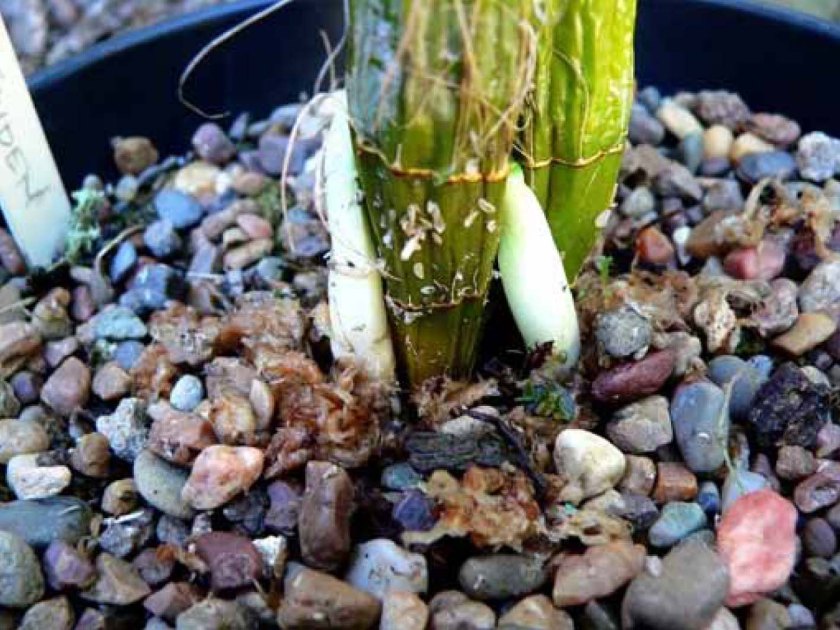
Note the dried ends of the canes where they were cut into separate pieces. As you can see from the photograph, I used a green twisty to hold the canes in the bark as a fairly solid bunch – I find this is the best way to keep the canes still whilst they are developing sensitive new growths. I have found that no matter how bunched-up the canes are, the new growths always find a way to the surface.

untitled

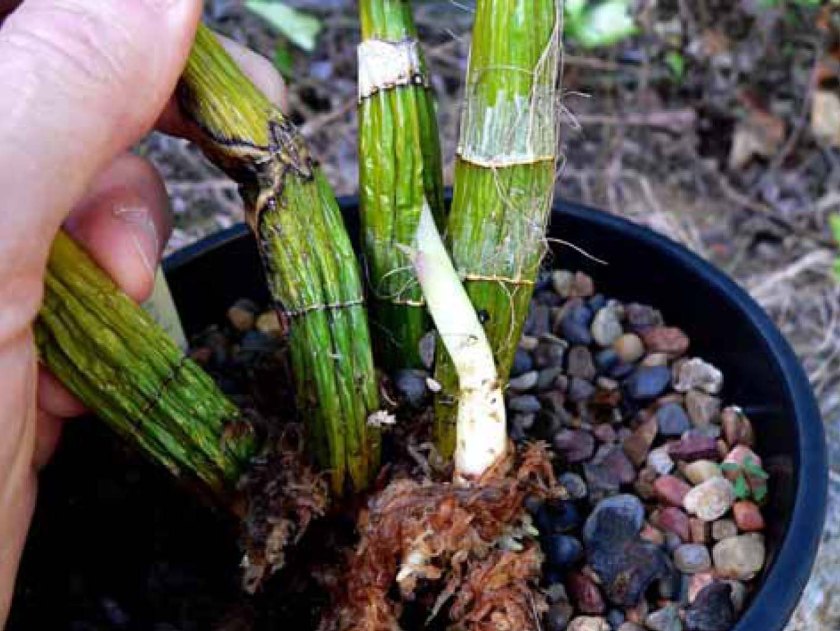
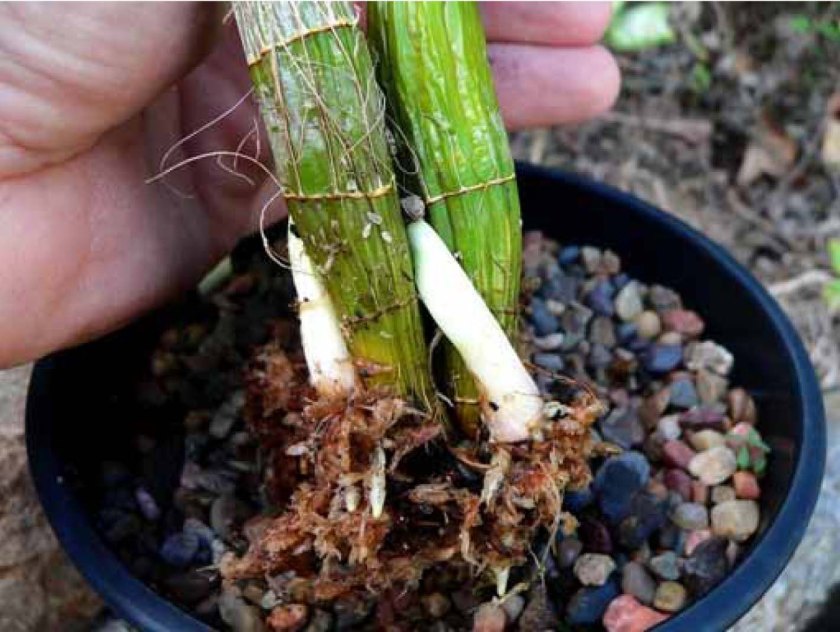
Here is a different angle on the new growths with my fingers providing some perspective on the size of the growths.

Note that they are significantly larger that those on the Den Jayden ‘JANE’, with the same time in the pots.

I do not consider this evidence of the worth of bark compared to sphagnum moss.

I find that different hybrids and species behave quite differently in terms of their speed and timing of production of new growths. I believe that it is a function of what species are in the background of these plants and the time of year the rescue is undertaken.

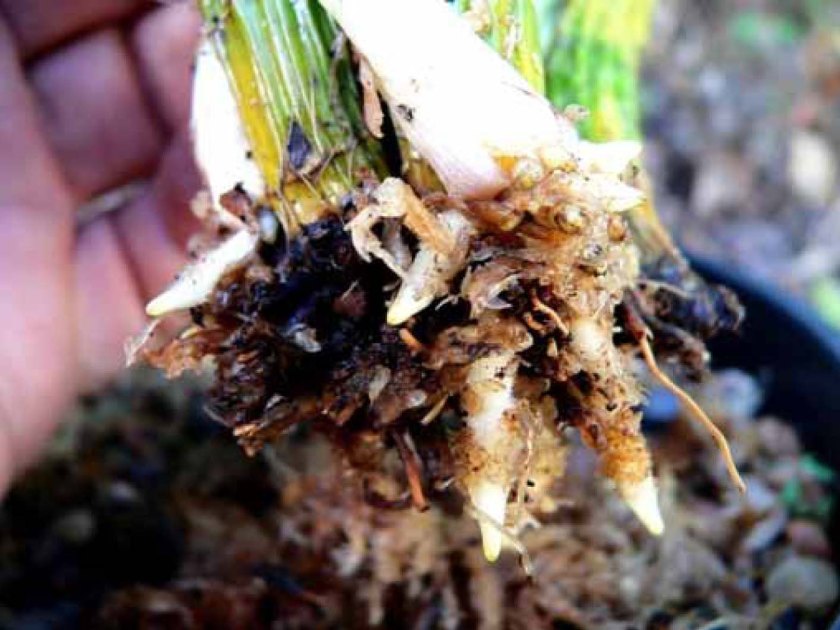
Here is the same plant 5 weeks later. The new roots are protruding from the pot and the new growths are extending themselves – all of this at a time where severe water restrictions limit me to two waterings each week by watering can!

Plant 2-3 Den Alick dockrill 'Pale Face'.jpg

Plant 2-4 Den Alick dockrill 'Pale Face'.jpg

A further 4 weeks of cultivation and bright, warm weather has fully extended and hardened the new growths.

The larger growth should produce a flower spike this Spring.

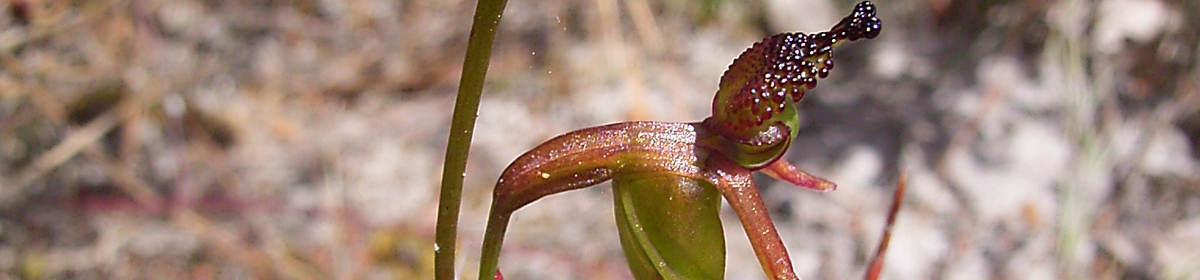
Dendrobium Alick Docrill “Pale Face” (Photographer: Josh Bridge)

TO BE CONTINUED

 *********************

 Rescuing apparently ‘dead’ orchids. Part 3

By Brendan Killen

Plant #3 – Dendrobium Sarah Jane ‘Purvis’

This is a plant that the late John Purvis gave me just before he passed away. Because it is a special plant to me, I cut an old cane into three pieces to produce a back-up plant, just in case my piece of the original fell foul of the orchid gremlins.

Journal

As you can see, it is the least developed of the three plants featured in this article. And yet, the parent plant has produced two magnificent new growths in the same period. I feel that the 12.5% of Den. bigibbum and 12.5% of the hot growing Den. tetragonum var. giganteum have influenced this. This new growth has probably been encouraged since the relocation from Adelaide to Brisbane where the temperature differences overnight are more subtle than in the Adelaide Hills where the plants were previously cultivated. The two hot growing species in the plant’s background were probably held back by Adelaide’s much cooler overnight temperatures. Anyway, this is purely conjecture on my behalf. What is important is that I now have a developing back-up plant for one that I treasure dearly.

Dendrobium Sarah Jane ‘Purvis’ (Photographer Josh Bridge)

SUMMARY

The thrust of what I have written is simple – don’t give up on treasured plants that look like they have expired, because there is always hope so long as the canes haven’t turned into fermented mush! The technique is as simple as cutting canes into lengths where you have at least three, preferably four, segments from which new growths will materialise. Use sterilized cutting tools to avoid contamination of the canes. Once the new growths have emerged, give them time to produce healthy root systems and let the new canes harden before potting-on. The best time I have found to pot-on the new growths is early autumn.

****************

Thank you to Josh Bridge for supplying images of the flowers of Dendrobium Alick Dockrill “Pale Face” and Dendrobium Sarah Jane ‘Purvis’ as they were not in the original articles.

***************

Another technique demonstrated by John Gay at one of the NOSSA meetings a couple of years ago was to take the apparently dead canes of an epiphytic orchid and seal them in a plastic bag with a small piece of damp sponge (or other cloth) and leave them in the shadehouse.  Do not let the sponge dry out.  So long as there was a bit of moisture, there was a chance for new growth on the shrivelled canes.  Once the growth was obvious, pot on as normal.

GLEANINGS FROM THE JOURNALS: Part 1 of 3 parts Rescuing apparently ‘dead’ orchids

The following is part of a three part series on reviving apparently dead epiphytic orchids from Volume 31 No6 July 2007


Rescuing Apparently ‘dead’ Orchids

By Brendan Killen

In late Spring 2006, I had an ‘open shade house’ event at my place in Belair, South Australia. As part of the programme, I demonstrated how I rescue orchids that have all but died. My demonstration was based on many years of experience in not giving in to the demons that cause orchids to expire.

I used two orchids that everyone attending agreed would normally be tossed into the rubbish bin or compost – all bare canes; heavily shrivelled; all new growth ‘eyes’ at the base of the canes chewed out by insects. In other words, an apparently hopeless situation. I’ve never given up on these terminal plants, believing that they still had life in the old canes along as they hadn’t turned to fermented mush.

I also used an apparently ‘dead’ cane from a treasured orchid that I was hoping would eventually produce a back-up plant using the method I describe in the following text.

In one case (Dendrobium Jayden), I cut the canes into a number of segments and stuck them into a pot with heavily compressed sphagnum moss, topped with river gravel to suppress the moss from growing and overtaking the pot. In the other two cases (Den. Alick Dockrill & Den. Sarah Jane), I cut the canes into segments and placed them in a pot of small composted bark.

The following photographs were taken about 3 months after the repotting demonstration and after the plants were relocated to Brisbane. They demonstrate the benefit of the right technique and a ‘don’t give up’ attitude. This technique has not failed me yet, allowing me to rescue many prized plants that have gone on to be show-bench winners.

PLANT #1 – Dendrobium Jayden “Jane”.

Plant 1-1 Den Jayden 'Jane'.jpg

This photo illustrates the emerging new growth on a Den. Jayden “Jane”. This is the first evidence that success is at hand. It is also the first new growth discovered on this plant before I inspect the canes further to see if there are any other new growths buried within the sphagnum moss.

Plant 1-2 Den Jayden 'Jane'.jpg

In this photo, you can see that the new growth is very pale from having emerged from deep in the sphagnum moss with little exposure to light. The juvenile roots can be seen emerging on the right hand side.

Plant 1-2-2 Den Jayden 'Jane'.jpg

A closer inspection reveals another growth, on the other side. Note that both growths are not coming from the ‘eyes’ at the bottom of the canes – simply because they were cut off at potting time. They are emerging from the section that joins the cane segments.

Plant 1-3 Den Jayden 'Jane'.jpg

Teasing away the sphagnum moss reveals even more of the young roots. Note how the new growths are lacking any colour substance at this stage.

If I were to ignore this plant for much longer, the new growths would have rotted in the very moist sphagnum moss, neutralising my efforts. So, the lesson here is to ensure that you monitor the plants for new growths and ensure that you elevate the new growths above the sphagnum moss to give them a chance to ‘harden off’ from their immersion deeper in the sphagnum.

Plant 1-4 Den Jayden 'Jane'.jpg

This photo illustrates how I have re-seated the canes within the sphagnum moss, but much higher so that only the roots are exposed to the heavy moisture content of the moss. I choose to do this instead of placing them straight into a bark mix as I find that the plants tend to go into a shock at the relative lack of moisture in bark and can die quickly, or suffer from stunted growth. I wait until the new growths have matured with substantial green substance before I repot them in a bark mix. And, I tend to do this in late autumn when they are not under any temperature or light stress. By spring, they will be racing ahead in the bark mix with new root growth and, possibly new canes and/or flower spikes.

One Month Later……….

Plant 1-5 Den Jayden 'Jane'.jpg

After one month from the re-seating described previously, note that the pale new growth is now mature and bright green. And, note how the roots are emerging from the growth above the sphagnum moss. This plant will be ready for potting-on into a bark medium in the next few weeks as autumn cools the air in Brisbane.

Plant 1-6 Den Jayden 'Jane'.jpg
Den Jayden ‘JANE’ in flower

This is how I expect it to flower in spring

TO BE CONTINUED …..

%d bloggers like this: